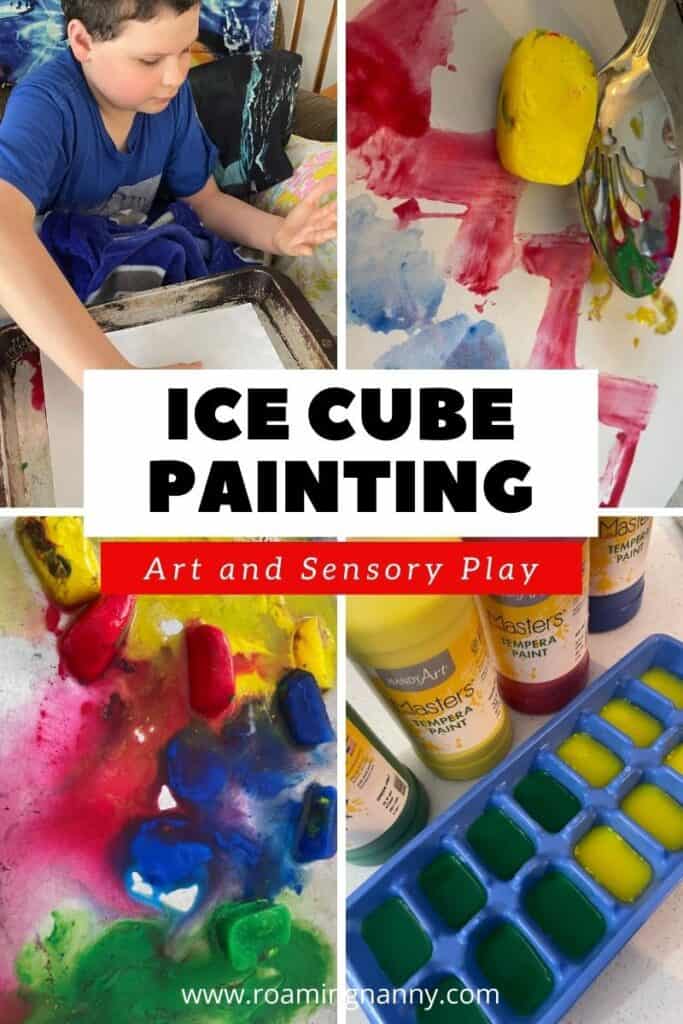
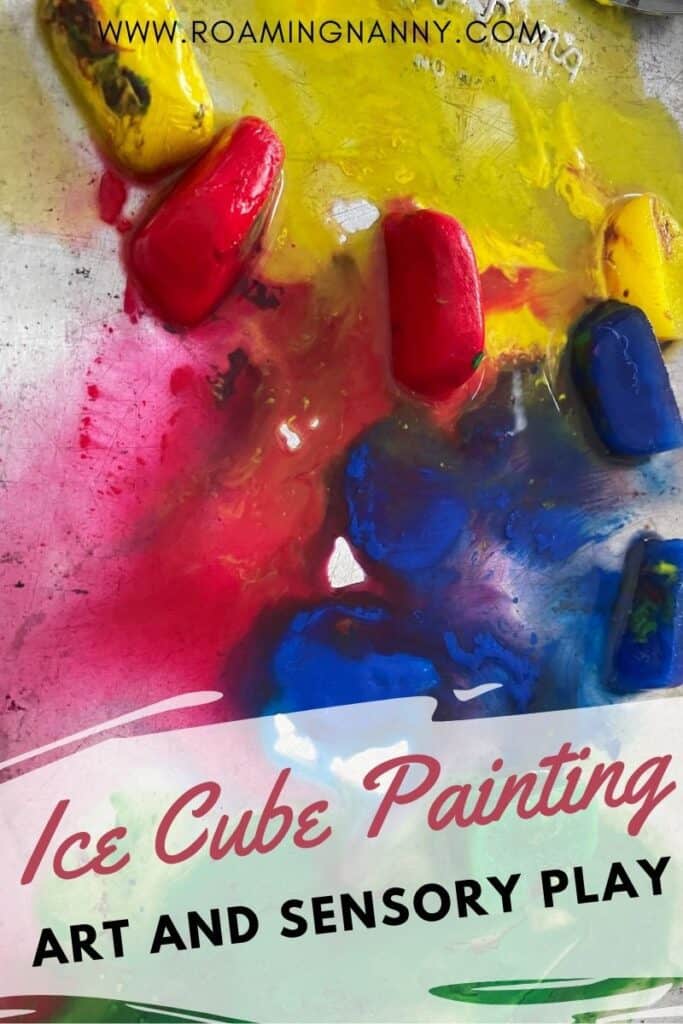
Sensory play is so important for young children and people with autism. It helps develop fine motor skills and encourages creativity. Over the years I’ve come up with some fun ice sensory play activities, but ice cube painting is by far my favorite! We made some beautiful art and had a blast getting (just a little) messy.
Ice Cube Painting
Ice Cube Painting Supplies
You will need to gather the following supplies for this fun art project:
- Ice Cube Trays (regular or in fun shapes)
- Tempra Paint
- Chopsticks
- Paper, preferably card stock
- Cooking Pans
- Utensils (spoons, forks, chopsticks, etc.)
Read More: How to Dye Pasta
Prepping your Ice Cubes
The day before you want to paint gather your ice cube trays (these can be regular ones or in fun shapes), the tempra paint, and a set of chopsticks.
First squirt your paint in the ice cube trays. You should fill about 1/4 of each cube square/rectangle with paint.
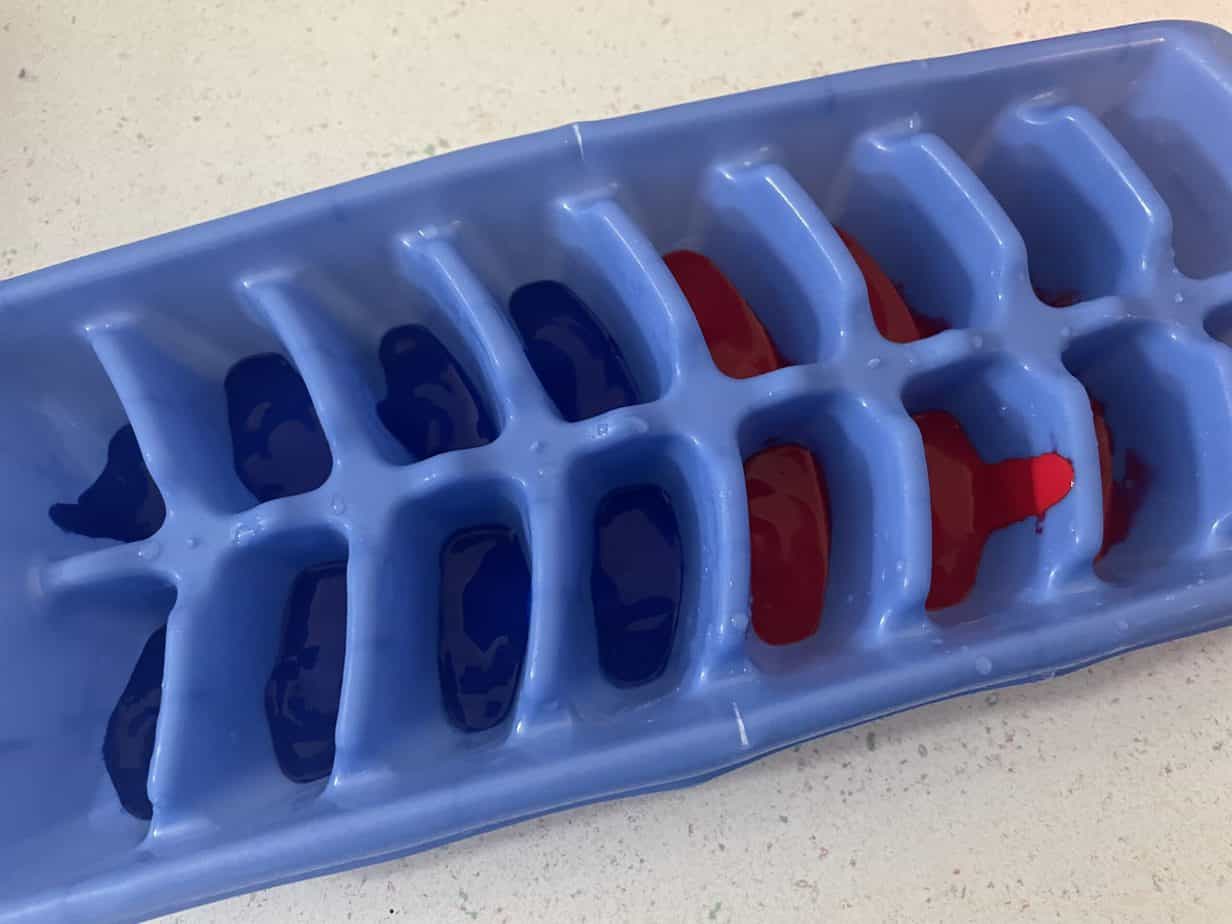
Next fill them the rest of the way with water. Fill them a total of 3/4 of the way full so the colors don’t blend. Don’t fill the trays directly from the tap to avoid mixing the paint and getting yourself messy.
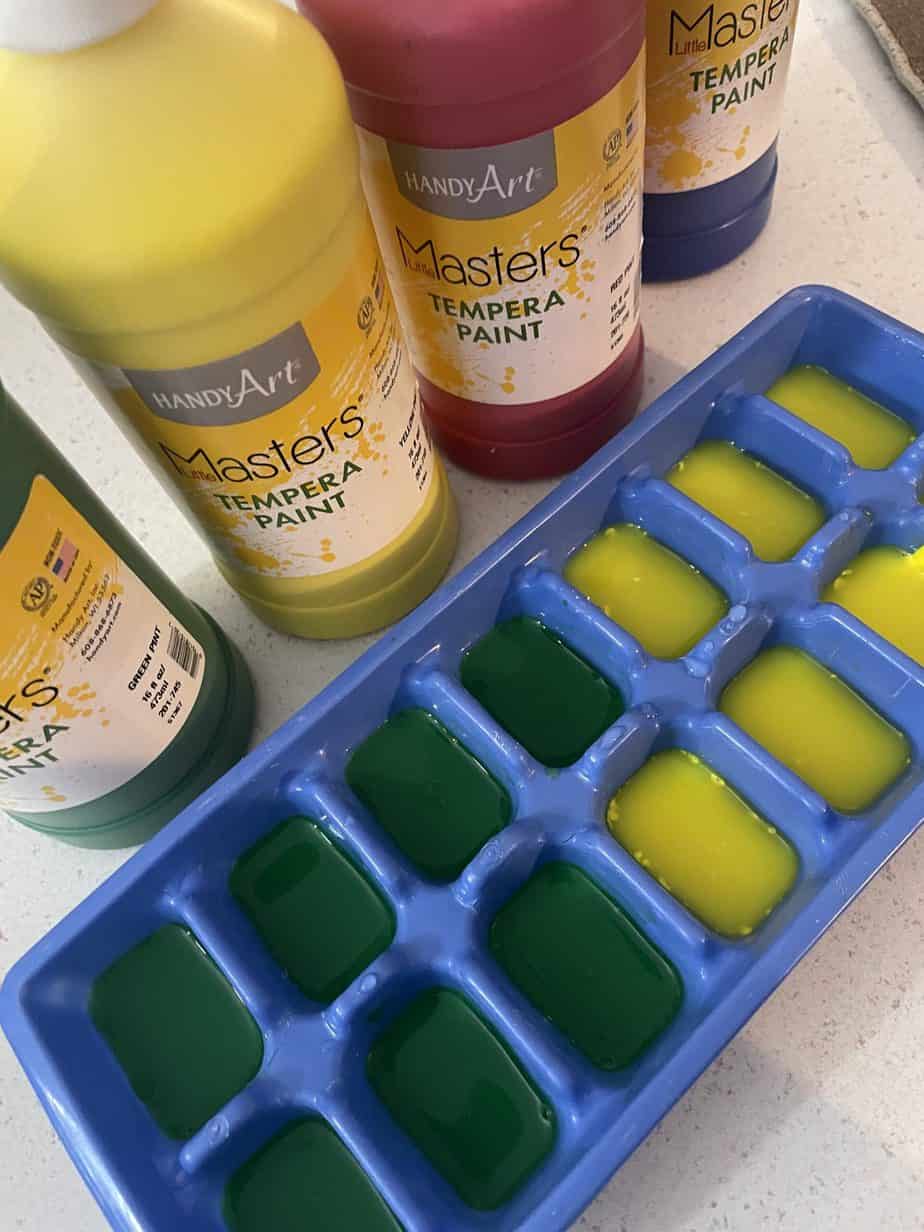
Before putting the trays in the freezer to sit overnight, use the chopsticks to mix the paint and water together. This will help ensure when the ice cubes freeze there is paint distributed throughout. It will make the painting look better!
Pin it for Later!
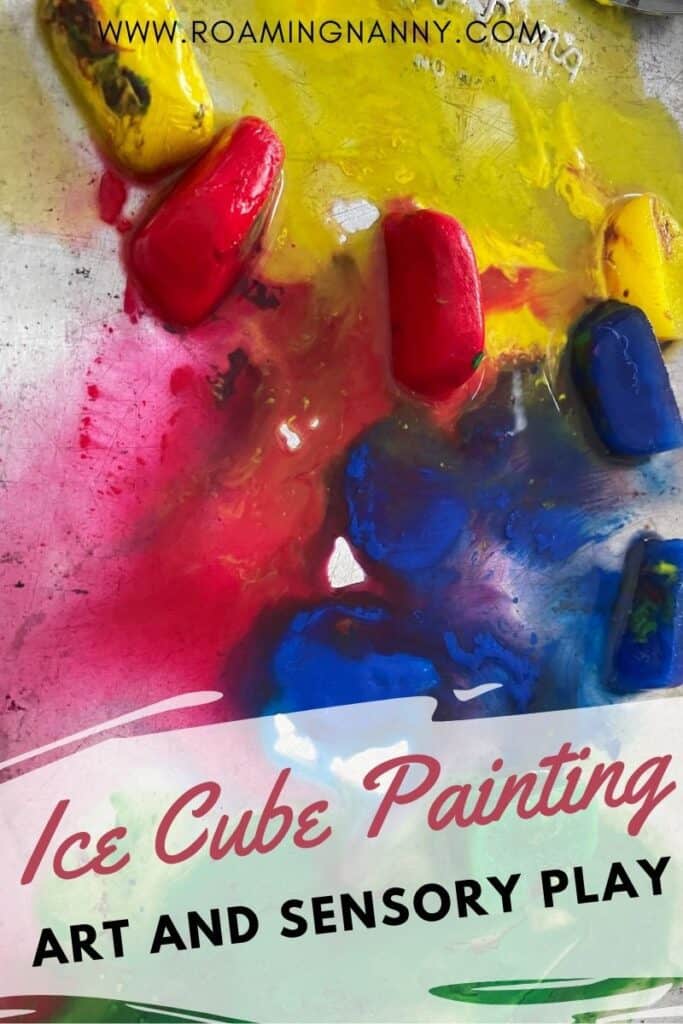
Painting with Ice Cubes version 1
Once the ice cubes have frozen completely take them out of the freezer and place them in a plate for easy access to your painting materials.
Grab one of your cooking pans and put a plain white piece of paper at the bottom.
If you’re working with children, especially younger ones, have them use spoons, forks, chopsticks, and any other utensils you have to pick up the ice cubes and move them into the cooking pans. This will help them work on their fine motor skills.

From there, use the utensils to move the ice cubes around the paper. Most times I’ve done abstract art, but it could be fun to challenge the kids to paint animals, flowers, or anything else they want to.
Once the painting is finished, remove the ice cubes from the cooking pan and the paper. Lay the paper flat to dry. Or to get a fun streaking pattern, hang it to dry.
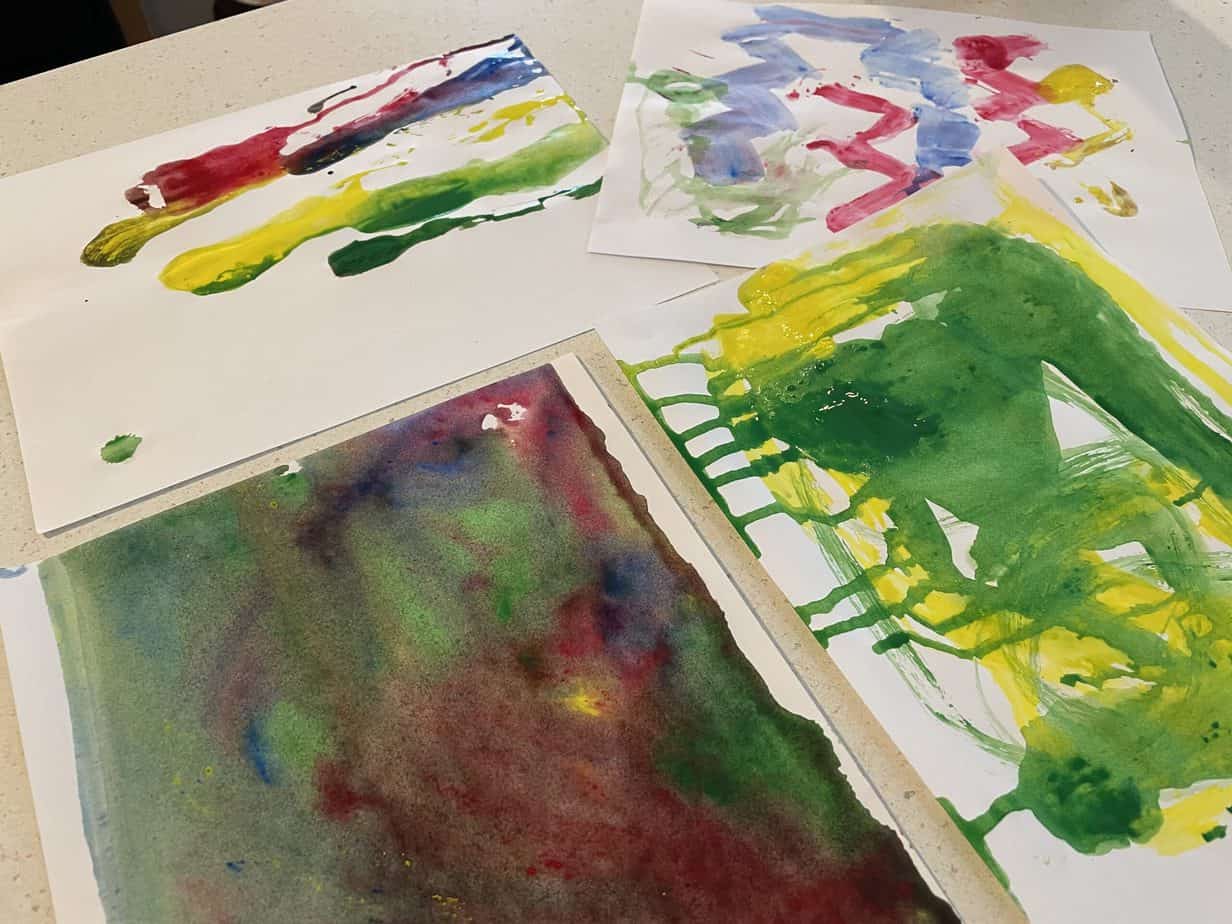
Read More: Ice Sensory Activities
Ice Cube Painting version 2
The second way of making ice cube art is my favorite!
Start off with a clean cooking pan and put 6-8 ice cubes of different colors in it. Pick the the pan with both hands and slow tilt the pan from side to side making the ice cubes move around.
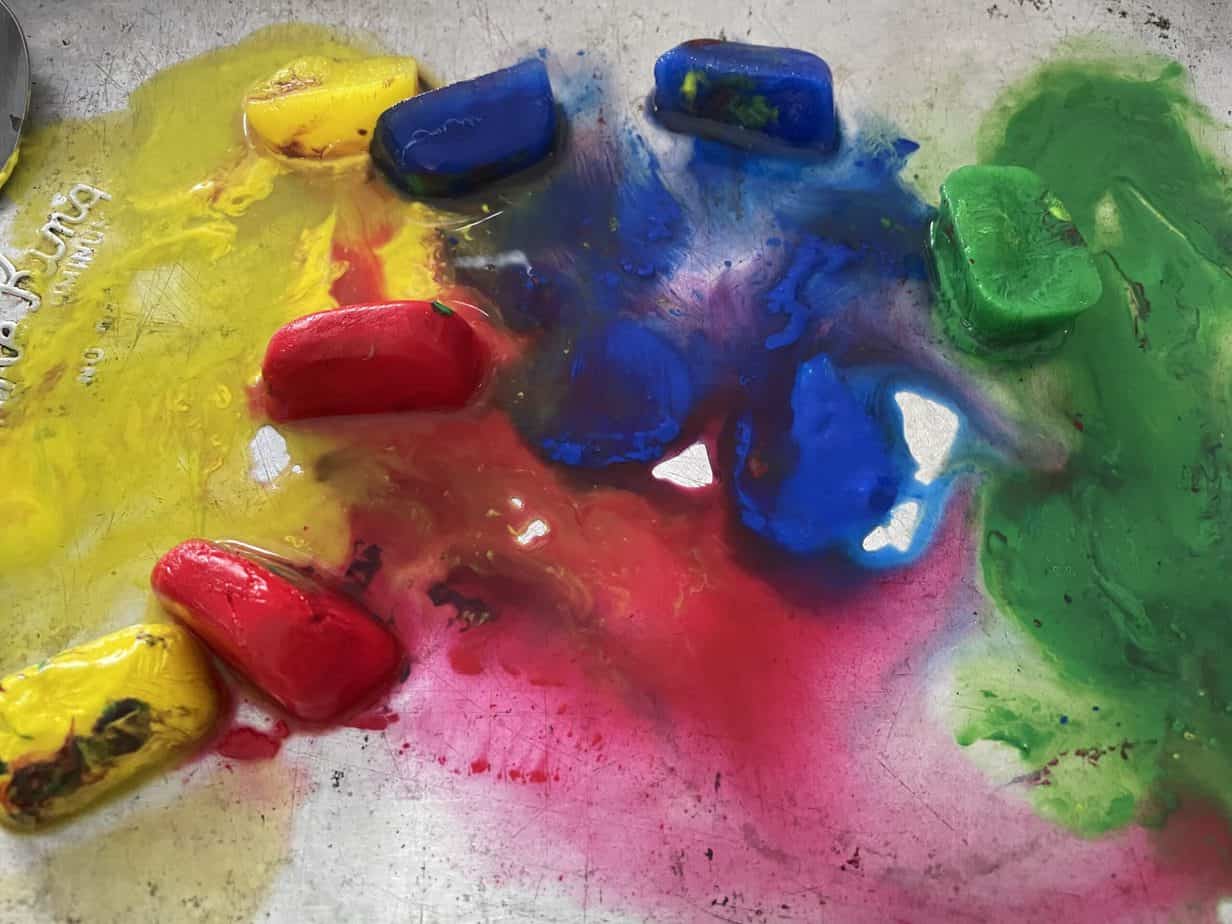
Once the bottom of the cooking pan is covered with paint take a blank white sheet of paper and gently place it inside the pan. Press down on the paper to make sure it is making contact with the paint.
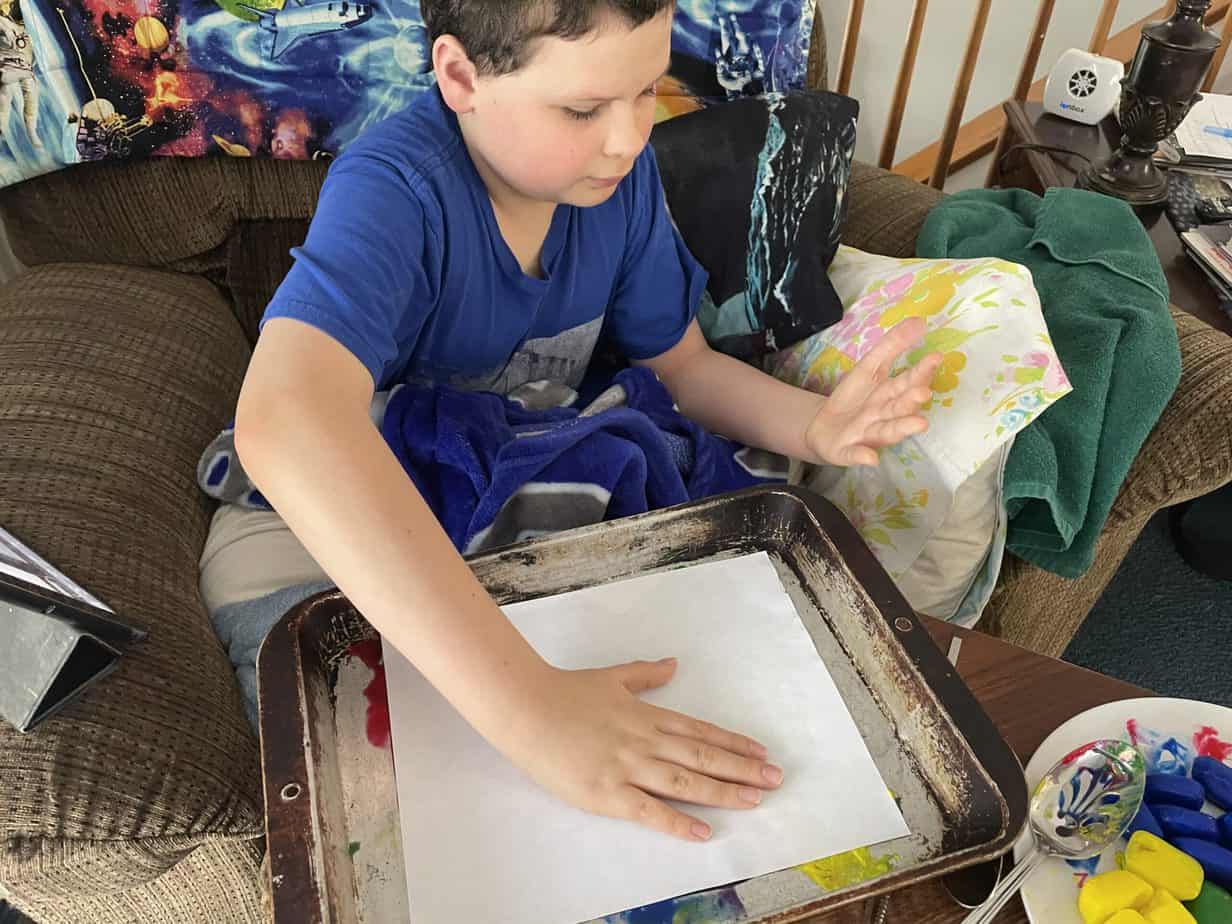
Then slowly remove the paper from the cooking pan and lay on a flat surface to dry.
Many people with autism don’t like to get their hands dirty, it’s a texture thing, have a towel on hand to make sure they can wipe their hands off if they get paint on them. This will help to avoid meltdowns.
To add even more creativity to this activity grab some paint brushes or cut up sponges to encourage using the melted ice cubes to paint on the paper.
