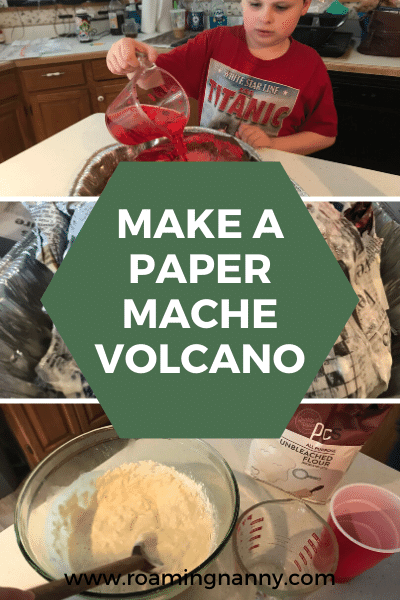
How to Make a Paper Mache Volcano
One of my Nanny Kids, Noah, who has Autism, loves volcanos. Over the years we’ve made our fair share of and done tons of volcano projects. However, one of the best ones we’ve ever done is make a paper mache volcano that erupts. This blog post includes the step by step directions on how to make your own.
Materials you’ll need to Make a Paper Mache Volcano
- Water
- Flour
- Bowl
- Whisk
- Newspaper
- Plastic Cup
- Masking Tape
- Pan or tray to put the volcano in (We used a turkey pan)
- Paint
- Paint Brushes
- Vinegar
- Baking Soda
Pin it for Later
Read More: Homemade Bath Bombs for Kids
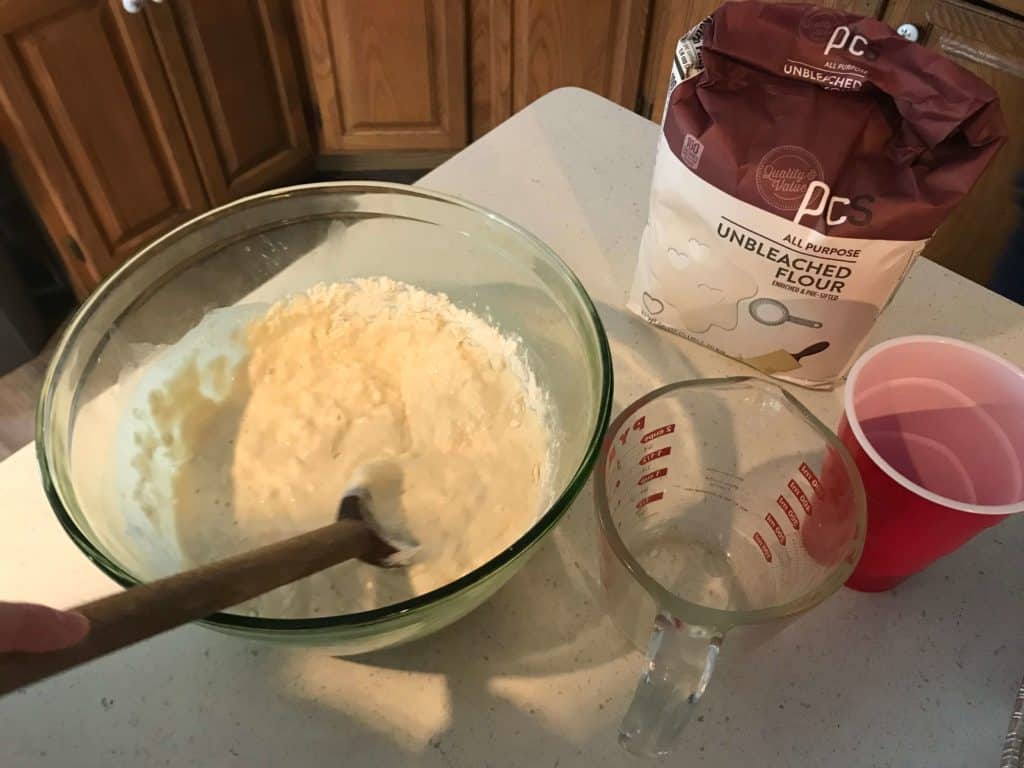
Step 1: Make the Batter and Cut the Paper
My paper mache batter recipe is:
- 1 Cup of Flour
- 2 Cups of Water
If you mix it together and it’s too think slowly mix in a little bit more water. If you have the opposite problem and it’s too watery add a bit more flour.
Then rip the newspaper into strips and set them aside for later.
Step 2: Shape and Tape the Volcano
Place the cup at the center of the tray and tape it in place. Once you do that take some newspaper and crumple them into balls. Tape them around the cup in the shape of a mountain to start off your paper mache volcano.
Read More: Make or Download a Scavenger Hunt
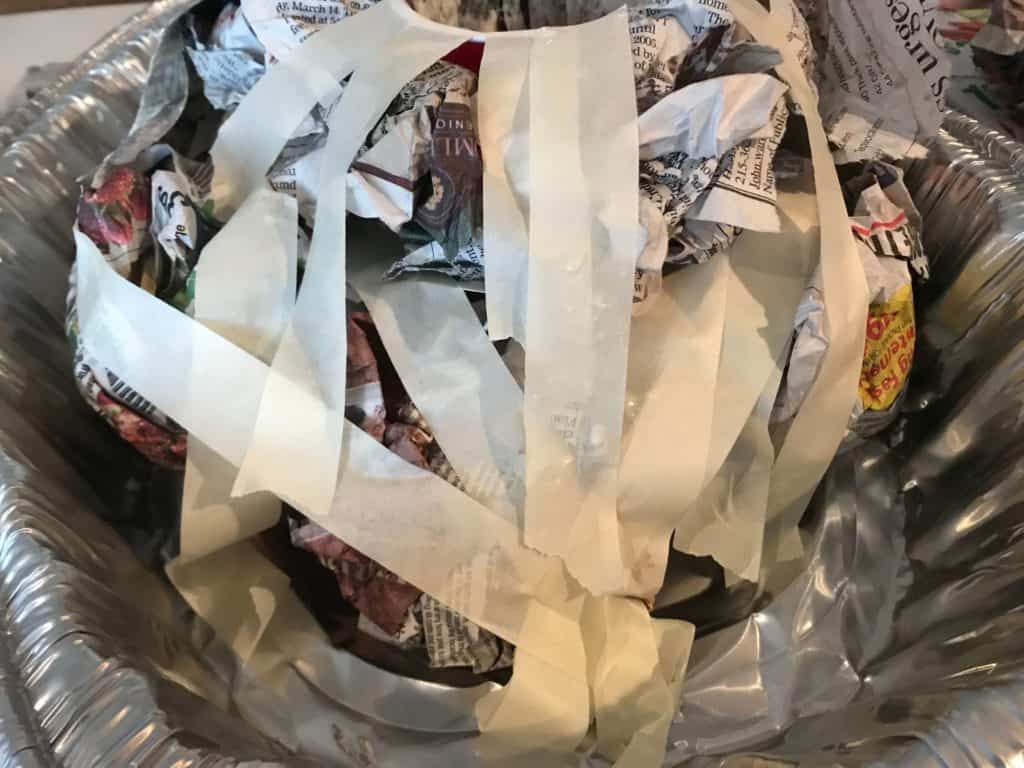
Step 3: Put the Paper Mache on and Let Dry
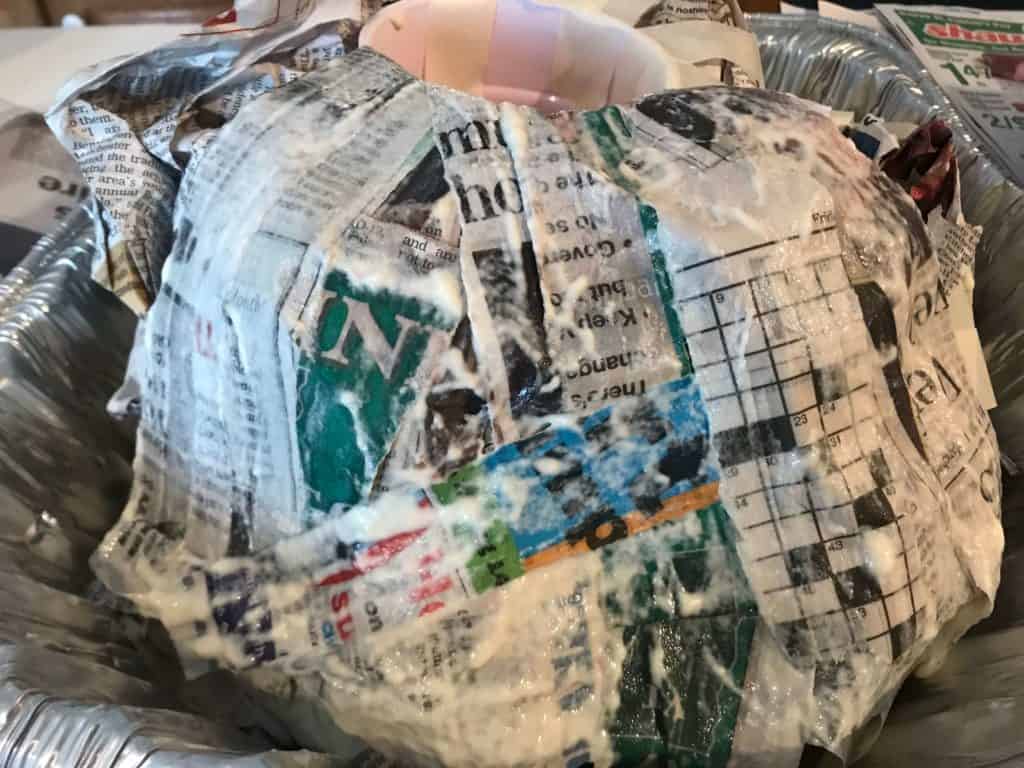
With the mountain all taped up with the cup in place start covering it with paper mache.
Take the strips of the newspaper you made earlier and dip them in the paper mache batter. Slowly cover the mountain completely with the paper mache.
Make sure when you put the paper mache in place the strips of paper should overlap into the cup. This way the paper mache hardens and doesn’t allow anything to seep through the crack between the paper mache and the cup during eruption.
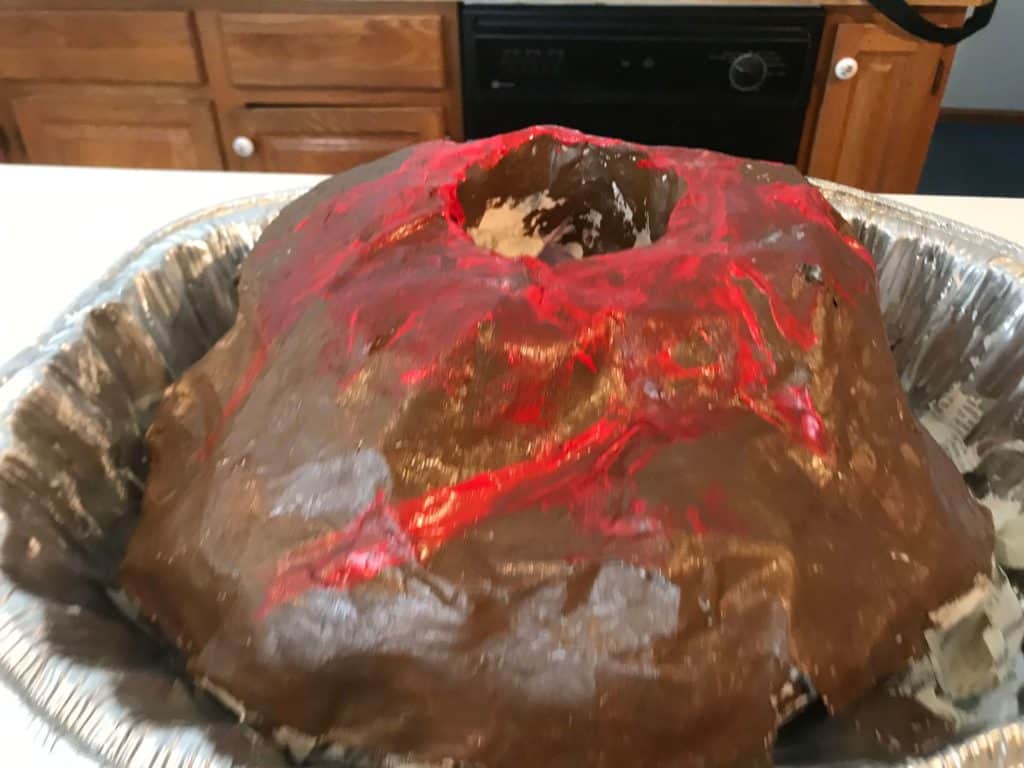
Step 4: Paint the Paper Mache Volcano
In about 24 hours the paper mache should be dry, and once it is you can paint it. We usually go with brown for the mountain and red for all the magma flowing down the sides of the mountain.
You can get as creative as you want for this step. Have fun!
Read More: Insect Life Cycles
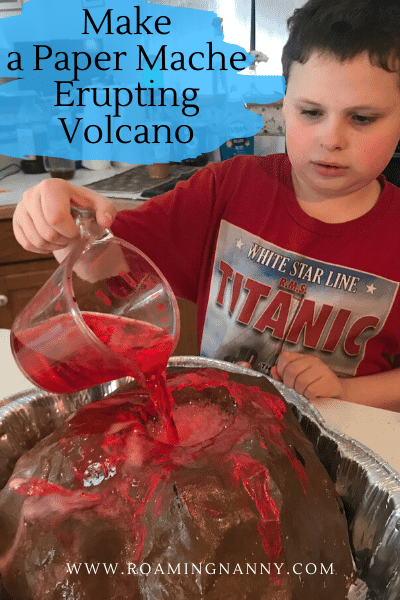
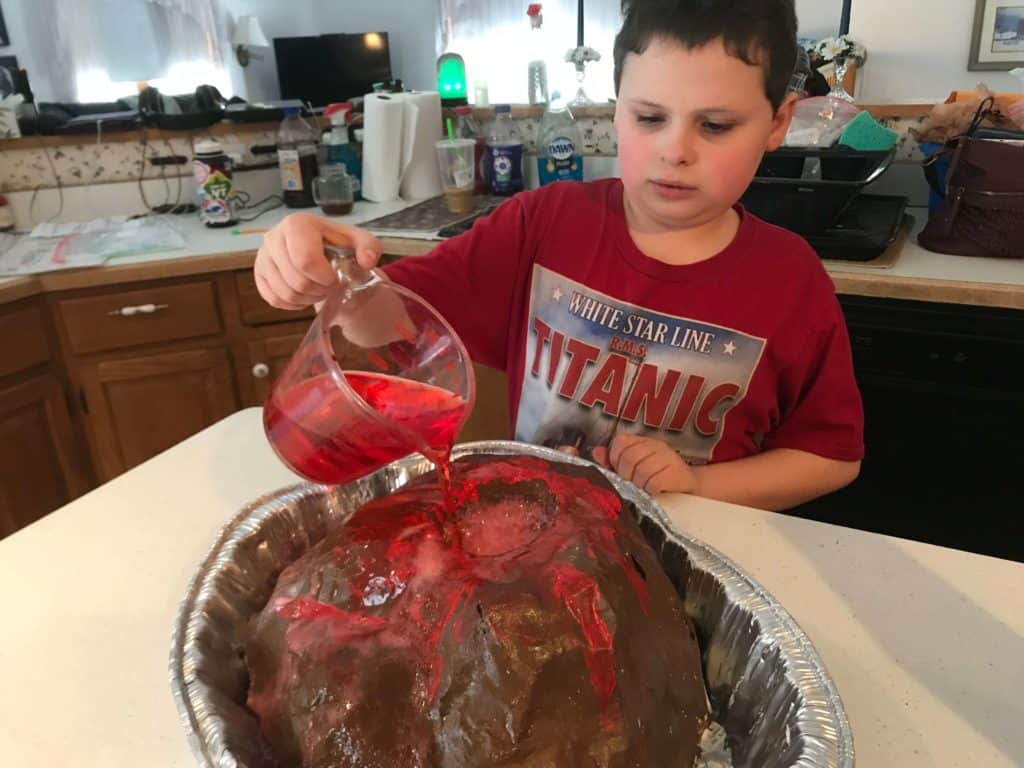
Step 5: Erupt the Paper Mache Volcano
Once the paint has completely dried you can erupt the volcano using white vinegar, baking soda, and a little bit of red food coloring. This is Noah’s favorite part!
First, put the baking soda and a few drops of red food coloring inside the cup at the center of the volcano. Then add the vinegar for a bright red volcano eruption! You can do this several times before the baking soda that doesn’t become activated by the baking soda builds up in the cup.
Afterward, to keep the volcano in working order make sure to rinse everything off and clean it as much as possible. While it won’t last forever, cleaning it up will give it at least a month of life. And when you can’t use it anymore, you just make a new one!